ROS学习笔记(持续更新)

安装ROS

1
2
3
4
5
6
7
8
9
10
11
12
13
14
15
16
17
18
19
20
21
22
23
24
25
26
27
sudo sh -c 'echo "deb http://packages.ros.org/ros/ubuntu $(lsb_release -sc) main" > /etc/apt/sources.list.d/ros-latest.list'

sudo apt-key adv --keyserver hkp://keyserver.ubuntu.com:80 --recv-key F42ED6FBAB17C654

sudo proxychains apt update

sudo proxychains apt install ros-noetic-desktop-full

sudo apt install python3 python3-rosdep2

sudo rosdep init

echo "source /opt/ros/noetic/setup.bash" >> ~/.bashrc

sudo apt install python3-rosinstall python3-rosinstall-generator python3-wstool build-essential

proxychains rosdep update

sudo proxychains apt-get install ros-noetic-roslaunch ros-noetic-rosbash

sudo apt-get install ros-noetic-roslaunch

apt-get install python3-roslaunch

sudo proxychains apt-get install ros-noetic-rqt

sudo proxychains apt-get install ros-noetic-rqt-common-plugins

海龟图

1
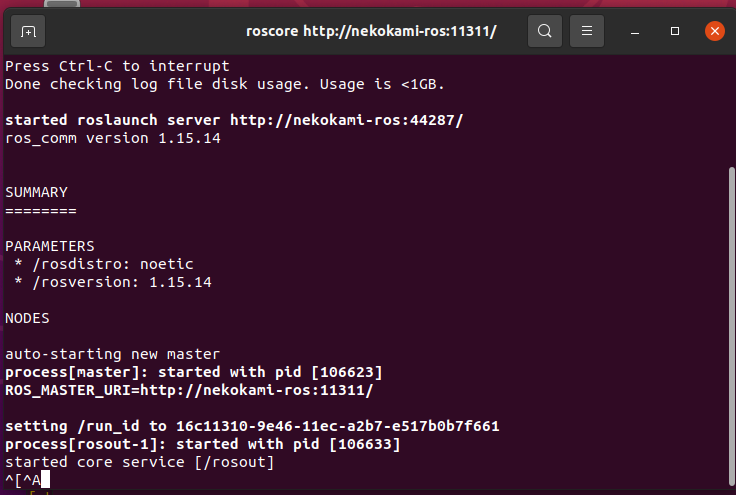
roscore

1
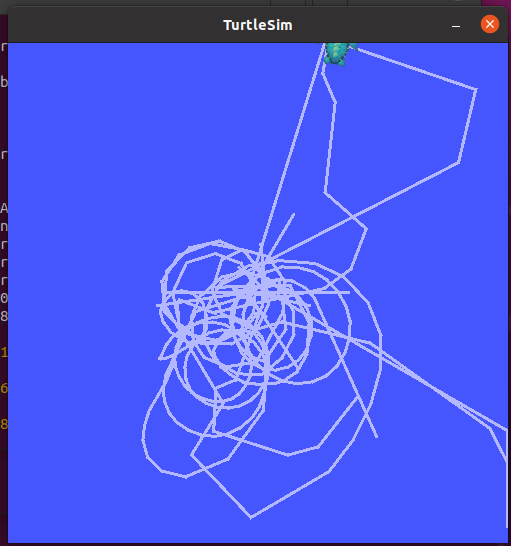
rosrun turtlesim turtlesim_node

1
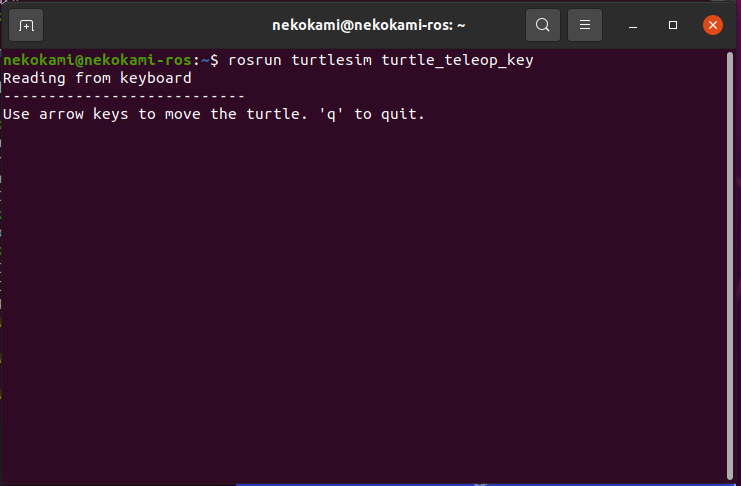
rosrun turtlesim turtle_teleop_key

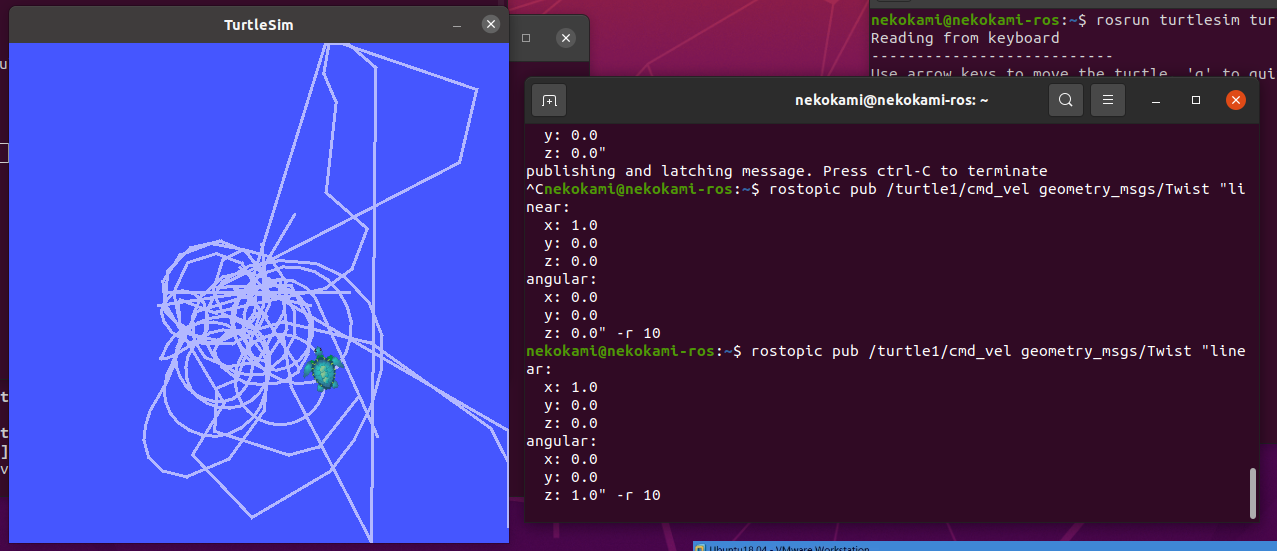
此时就可以通过键盘方向键来移动海龟了

常用工具

rqt_graph

1
rqt_graph 查看ros中所有向量图

rosnode

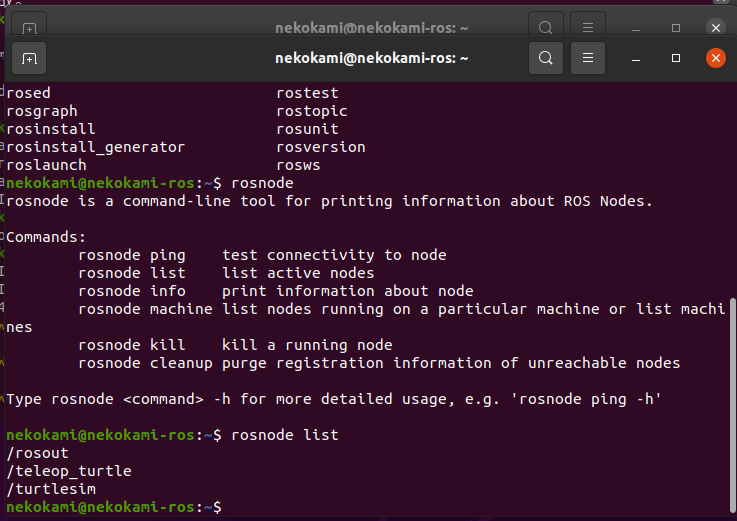
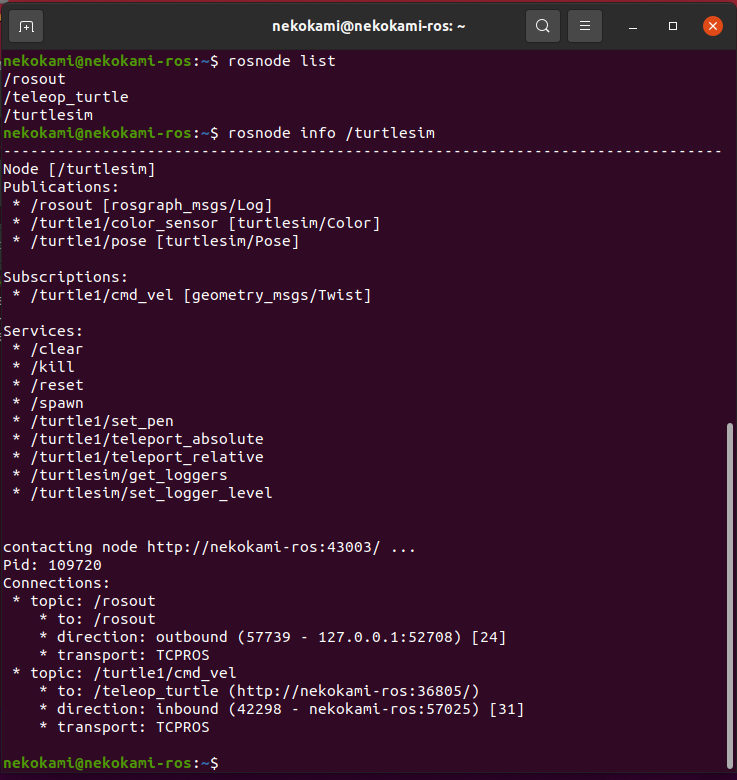
rosnode list

1
rosout 日志输出,提供给上层GUI

rosnode info

1
查看正在发布哪些话题,订阅哪些数据,提供的服务,底层通讯机制的信息等

rostopic

rostopic list

rostopic pub

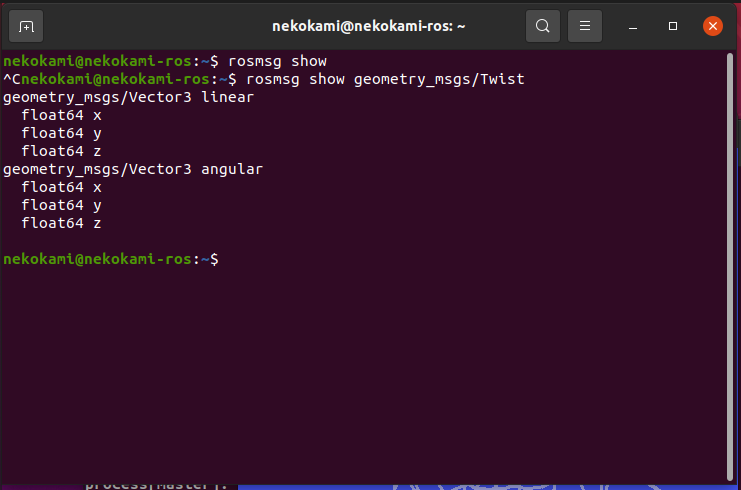
rosmsg

rosmsg show geometry_msgs/Twist
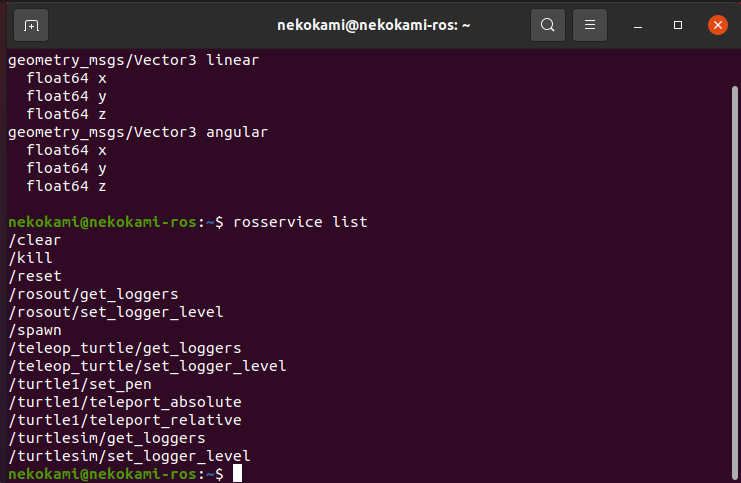
rosservice

rosservice list
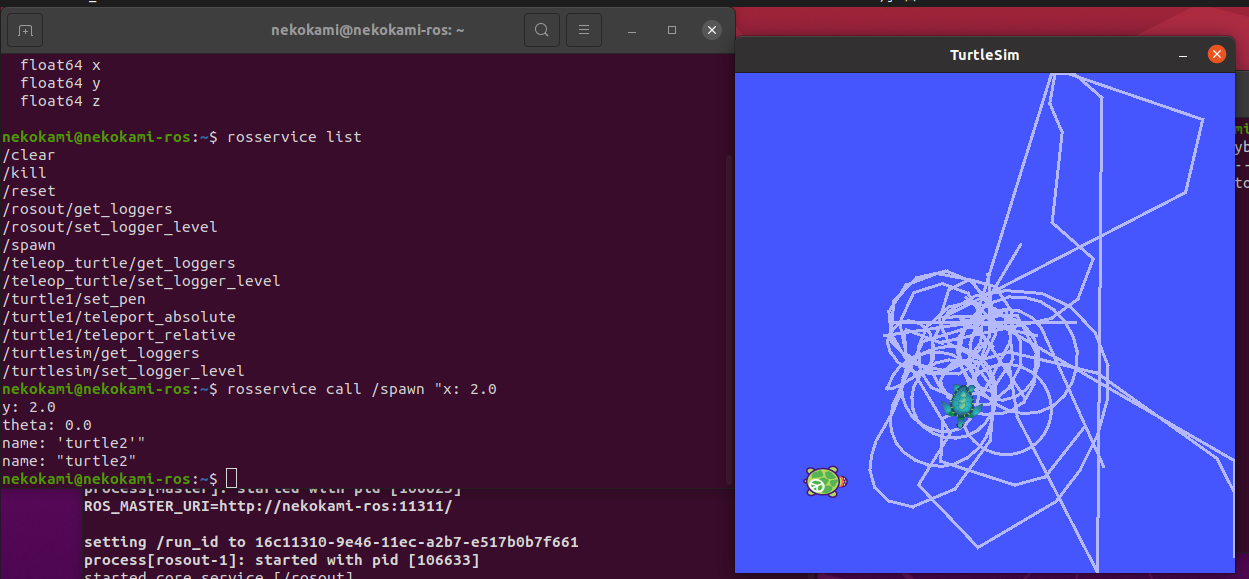
创建新海龟
rosbag 话题记录 用于记录历史-方便离线复现

1
2
3
rosbag record -a -O cmd_record
rosbag play cmd_record.bag

工作空间(工程)

创建工作空间

1
2
3
4
mkdir -p ~/catkin_ws/src
cd ~/catkin_ws/src

catkin_init_workspace

编译工作空间

1
2
3
cat ~/catkin_ws
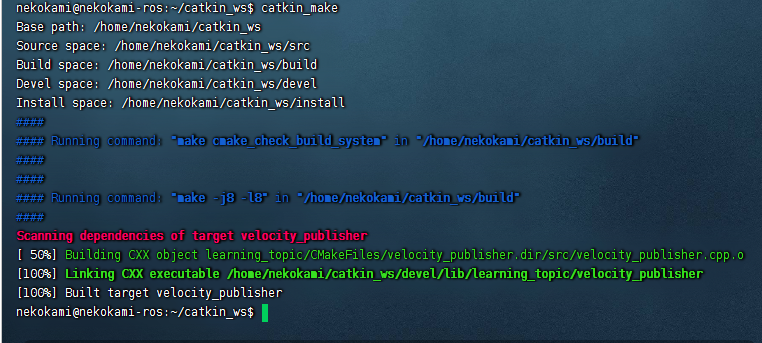
catkin_make
catkin_make install

设置环境变量

1
source devel/setup.bash

检查环境变量

1
echo $ROS_PACKAGE_PATH

功能包

创建功能包

1
2
3
4
cd ~/catkin_ws/src
#catkin_create_pkg <package_name> [depend1 ...]
catkin_create_pkg nekopkg std_msgs rospy roscpp

编译功能包

1
2
3
cd ~/catkin_ws
catkin_make
source ~/catkin_ws/devel/setup.bash

实例-创建发布者

1
catkin_create_pkg learning_topic roscpp rospy ros_msgs geometry_msgs_turtlesim

1
2
3
4
5
6
7
8
9
10
11
12
13
14
15
16
17
18
19
20
21
22
23
24
25
26
27
28
#include <ros/ros.h>
#include <geometry_msgs/Twist.h>

int main(int argc,char** argv){
ros::init(argc,argv,"velocity_publisher");

ros::NodeHandle handle;

ros::Publisher turtle_vel_pub = handle.advertise<geometry_msgs::Twist>("/tuntle1/cmd_vel",10);

ros::Rate loop_rate(10);

int count = 0;

while(ros::ok()){
geometry_msgs::Twist vel_msg;
vel_msg.linear.x = 0.5;
vel_msg.angular.z = 0.2;

turtle_vel_pub.publish(vel_msg);
ROS_INFO("Publish turtle velocity command[ %0.2f m/s %02.f rad/s]",vel_msg.linear.x,vel_msg.angular.z);
loop_rate.sleep();
}

return 0;
}


CMakefile.exe

编译

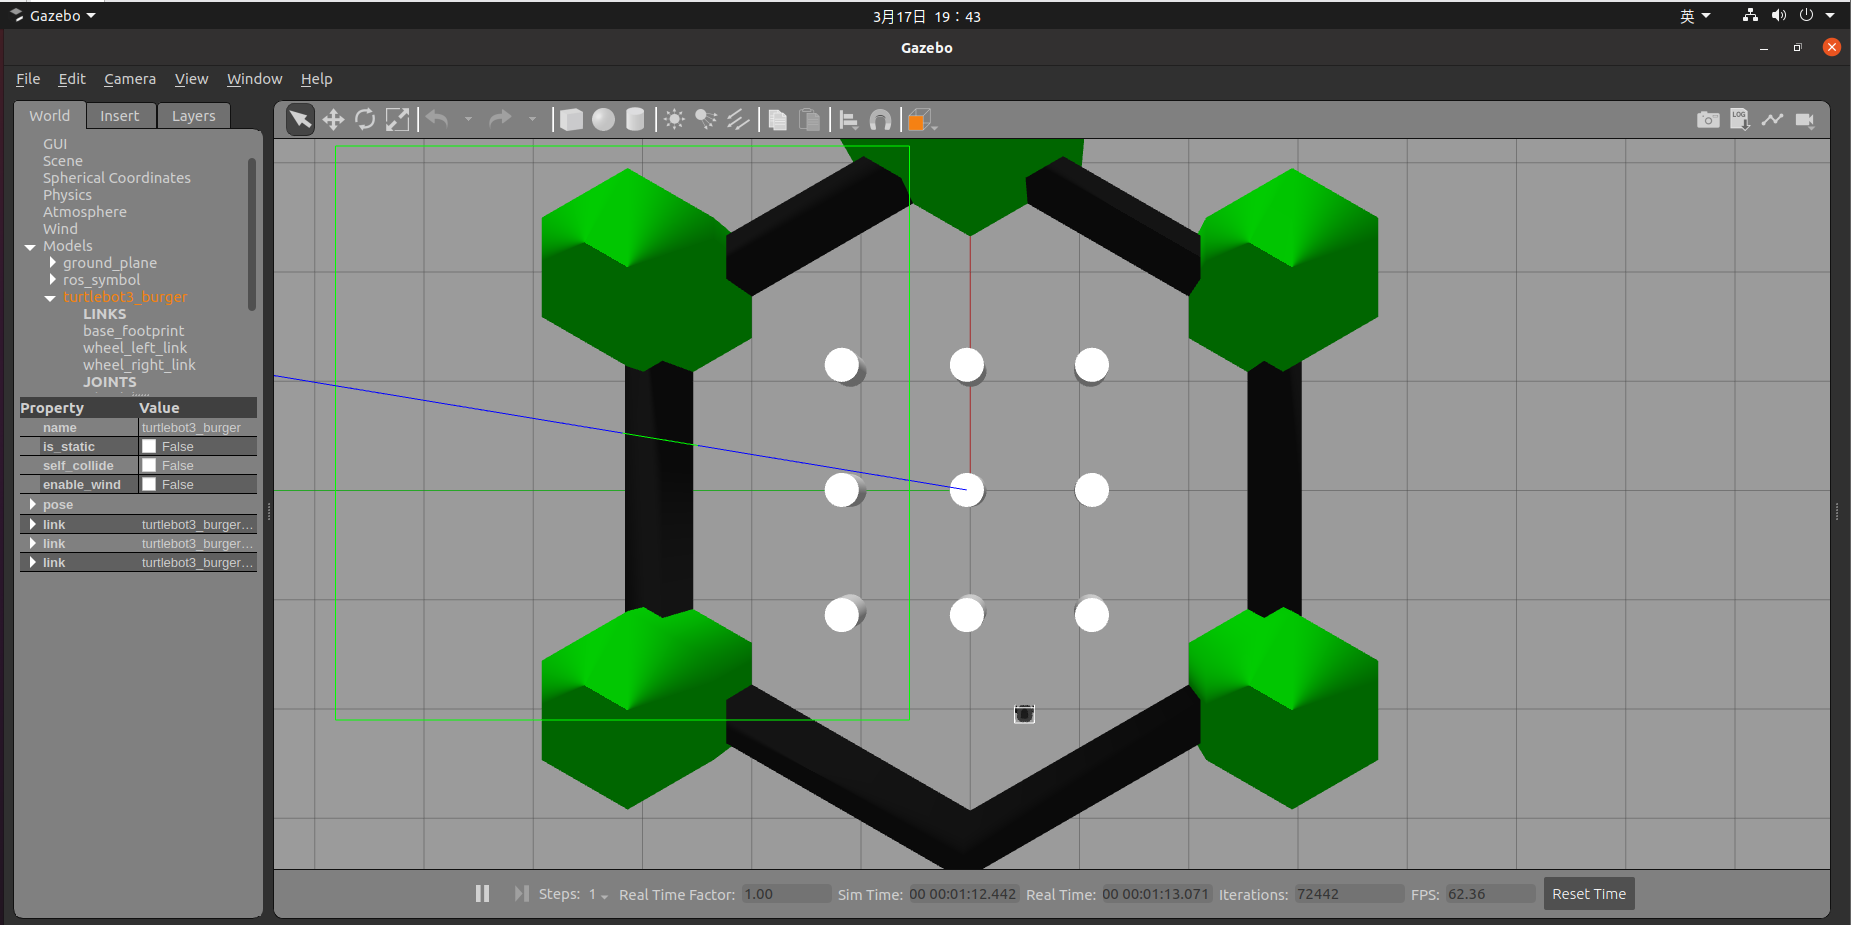
安装模拟仿真环境

Turtlebot3安装

1
2
3
4
5
6
7
8
9
10
11
12
13
14
15
16
$ mkdir -p ~/catkin_ws/src
$ cd ~/catkin_ws/src
$ git clone https://github.com/ROBOTIS-GIT/turtlebot3_msgs.git
$ git clone https://github.com/ROBOTIS-GIT/turtlebot3.git
$ git clone https://github.com/ROBOTIS-GIT/turtlebot3_simulations.git
$ cd ~/catkin_ws
$ rosdep install --from-paths src -i -y
$ catkin_make

$ echo "source ~/catkin_ws/devel/setup.bash " >> ~/.bashrc
$ source ~/.bashrc

$ echo "export TURTLEBOT3_MODEL=burger" >> ~/.bashrc
$ source ~/.bashrc

$ env | grep TURTLEBOT3

启动模拟环境

1
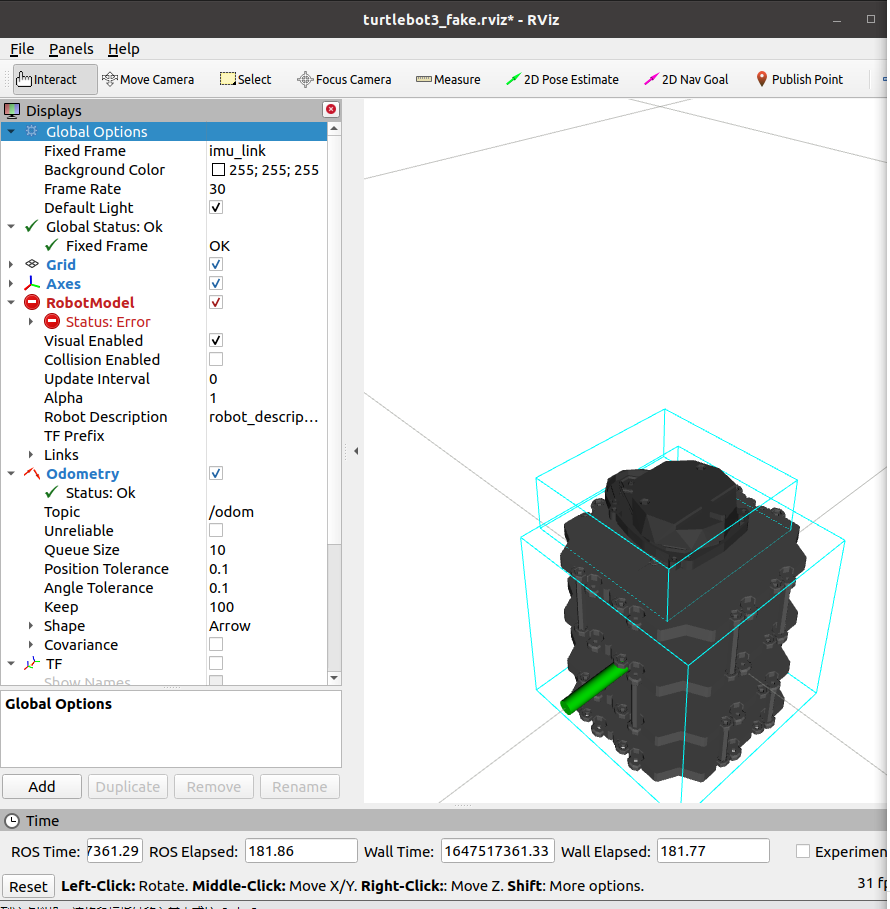
roslaunch turtlebot3_fake turtlebot3_fake.launch

1
$ roslaunch turtlebot3_gazebo turtlebot3_world.launch

SLAM建图

1
roslaunch turtlebot3_teleop turtlebot3_teleop_key.launch

控制移动

1
roslaunch turtlebot3_teleop turtlebot3_teleop_key.launch

MavROS

1
2
3
4
5
6
7
8
9
10
11
12
13
sudo apt-get install ros-noetic-mavros ros-noetic-mavros-extras 

sudo /opt/ros//noetic/lib/mavros/install_geographiclib_datasets.sh

roslaunch mavros px4.launch


rosservice call /mavros/set_stream_rate 0 10 1
上去第一件事,设置发布间隔

常用topic
https://zhuanlan.zhihu.com/p/364872655

双目摄像头Matlib标定

标定板图片

标定板11x8

使用ROS自带的矫正程序进行矫正(单目)

1
rosrun camera_calibration cameracalibrator.py --size 11x8 --square 0.018 image:=/camera/left/image_raw camera:=/camera/left

使用ROS自带的矫正程序进行矫正(双目)

1
rosrun camera_calibration cameracalibrator.py --size 11x8 --square 0.018 right:=/camera/right/image_raw left:=/camera/left/image_raw

校准导出结果

1
2
3
4
5
6
7
8
9
10
11
12
13
Left:
D = [0.0996336174020269, -0.12685419025563074, 0.0040132887431988005, 0.0026092421692464024, 0.0]
K = [490.77398154248374, 0.0, 286.5742937492629, 0.0, 491.4779251168175, 230.99980166746042, 0.0, 0.0, 1.0]
R = [0.9951279240273565, -0.007629386706134261, 0.09829652730128516, 0.007378322477048772, 0.9999685240260904, 0.002917415724041282, -0.09831569141509768, -0.0021779383761870563, 0.995152893482203]
P = [538.8519492512218, 0.0, 222.42794227600098, 0.0, 0.0, 538.8519492512218, 226.17376518249512, 0.0, 0.0, 0.0, 1.0, 0.0]

Right:
D = [0.11164664847847117, -0.12745688727440427, 0.0066646353517060535, 0.0035415306332804712, 0.0]
K = [479.7129815312301, 0.0, 299.07551475033955, 0.0, 480.176152343911, 217.0971192421423, 0.0, 0.0, 1.0]
R = [0.9944161471167446, -0.006156575739803705, 0.10535000203440399, 0.006425656867178089, 0.9999769022316078, -0.00221493501095623, -0.1053339322693032, 0.0028795101037386744, 0.9944327383660739]
P = [538.8519492512218, 0.0, 222.42794227600098, -36.67695236216937, 0.0, 538.8519492512218, 226.17376518249512, 0.0, 0.0, 0.0, 1.0, 0.0]
self.T = [-0.06768492478621232, 0.00041904726416345595, -0.007170646800739116]
self.R = [0.9999746650485888, -0.0009319199064041028, -0.007056967213378089, 0.0009684705924117559, 0.9999861264862681, 0.005177731134508334, 0.0070520440777322975, -0.005184434422159383, 0.9999616944233655]

根据校准结果修改yaml文件

1
2
3
4
5
6
7
8
9
10
11
12
13
14
15
16
17
18
19
20
21
22
23
24
25
26
27
28
29
30
31
32
33
34
35
36
37
38
39
40
41
42
43
44
45
46
47
48
49
50
51
52
53
54
55
56
57
58
59
60
61
62
63
64
65
66
67
68
69
70
71
72
73
74
75
76
77
78
79
80
81
82
83
84
85
86
87
88
89
90
91
92
93
94
95
96
97
98
99
100
101
102
103
104
105
106
107
108
109
110
111
112
113
114
%YAML:1.0
Camera.type: "PinHole"

Camera.fx: 842.46117
Camera.fy: 842.46117
Camera.cx: 298.49029
Camera.cy: 337.24703

Camera.k1: 0.0
Camera.k2: 0.0
Camera.p1: 0.0
Camera.p2: 0.0

Camera.bFishEye: 0

Camera.width: 640
Camera.height: 480

# Camera frames per second
Camera.fps: 20.0

# 基线*焦距
Camera.bf: 61.20121

# Color order of the images (0: BGR, 1: RGB. It is ignored if images are grayscale)
Camera.RGB: 1

# Close/Far threshold. Baseline times.
ThDepth: 35.0

#--------------------------------------------------------------------------------------------
# Stereo Rectification. Only if you need to pre-rectify the images.
# Camera.fx, .fy, etc must be the same as in LEFT.P
#--------------------------------------------------------------------------------------------
LEFT.height: 480
LEFT.width: 640
LEFT.D: !!opencv-matrix
rows: 1
cols: 5
dt: d
data: [0.0996336174020269, -0.12685419025563074, 0.0040132887431988005, 0.0026092421692464024, 0.0]
LEFT.K: !!opencv-matrix
rows: 3
cols: 3
dt: d
data: [490.77398154248374, 0.0, 286.5742937492629, 0.0, 491.4779251168175, 230.99980166746042, 0.0, 0.0, 1.0]
LEFT.R: !!opencv-matrix
rows: 3
cols: 3
dt: d
data: [0.9951279240273565, -0.007629386706134261, 0.09829652730128516, 0.007378322477048772, 0.9999685240260904, 0.002917415724041282, -0.09831569141509768, -0.0021779383761870563, 0.995152893482203]
LEFT.P: !!opencv-matrix
rows: 3
cols: 4
dt: d
data: [538.8519492512218, 0.0, 222.42794227600098, 0.0, 0.0, 538.8519492512218, 226.17376518249512, 0.0, 0.0, 0.0, 1.0, 0.0]

RIGHT.height: 480
RIGHT.width: 640
RIGHT.D: !!opencv-matrix
rows: 1
cols: 5
dt: d
data: [0.11164664847847117, -0.12745688727440427, 0.0066646353517060535, 0.0035415306332804712, 0.0]
RIGHT.K: !!opencv-matrix
rows: 3
cols: 3
dt: d
data: [479.7129815312301, 0.0, 299.07551475033955, 0.0, 480.176152343911, 217.0971192421423, 0.0, 0.0, 1.0]
RIGHT.R: !!opencv-matrix
rows: 3
cols: 3
dt: d
data: [0.9944161471167446, -0.006156575739803705, 0.10535000203440399, 0.006425656867178089, 0.9999769022316078, -0.00221493501095623, -0.1053339322693032, 0.0028795101037386744, 0.9944327383660739]
RIGHT.P: !!opencv-matrix
rows: 3
cols: 4
dt: d
data: [538.8519492512218, 0.0, 222.42794227600098, -36.67695236216937, 0.0, 538.8519492512218, 226.17376518249512, 0.0, 0.0, 0.0, 1.0, 0.0]

#--------------------------------------------------------------------------------------------
# ORB Parameters
#--------------------------------------------------------------------------------------------

# ORB Extractor: Number of features per image
ORBextractor.nFeatures: 1200

# ORB Extractor: Scale factor between levels in the scale pyramid
ORBextractor.scaleFactor: 1.2

# ORB Extractor: Number of levels in the scale pyramid
ORBextractor.nLevels: 8

# ORB Extractor: Fast threshold
# Image is divided in a grid. At each cell FAST are extracted imposing a minimum response.
# Firstly we impose iniThFAST. If no corners are detected we impose a lower value minThFAST
# You can lower these values if your images have low contrast
ORBextractor.iniThFAST: 20
ORBextractor.minThFAST: 7

#--------------------------------------------------------------------------------------------
# Viewer Parameters
#--------------------------------------------------------------------------------------------
Viewer.KeyFrameSize: 0.05
Viewer.KeyFrameLineWidth: 1
Viewer.GraphLineWidth: 0.9
Viewer.PointSize:2
Viewer.CameraSize: 0.08
Viewer.CameraLineWidth: 3
Viewer.ViewpointX: 0
Viewer.ViewpointY: -0.7
Viewer.ViewpointZ: -1.8
Viewer.ViewpointF: 500

PX4+Gazebo

其他教程中的Firmware基于此处方式获得

1
2
3
4
5
6
7
cd ~

sudo apt-get install libgstreamer*
proxychains python3 -m pip install --user kconfiglib packaging toml jsonschema jinja2

git clone https://github.com/PX4/Firmware.git --recursive
cd ~/Firmware

初始化工作空间

1
2
3
4
5
6
7
8
9
10
11
12
13
14
15
16
17
18
19
20
21
22
23
24
25
26
27
mkdir -p ~/catkin_ws/src
cd ~/catkin_ws
catkin init
wstool init src

rosinstall_generator --rosdistro kinetic mavlink | tee /tmp/mavros.rosinstall

## Build MAVROS
### Get source (upstream - released)
rosinstall_generator --upstream mavros | tee -a /tmp/mavros.rosinstall

### Setup workspace & install deps
wstool merge -t src /tmp/mavros.rosinstall
wstool update -t src

rosdep install --from-paths src --ignore-src -y

wget https://raw.githubusercontent.com/mavlink/mavros/master/mavros/scripts/install_geographiclib_datasets.sh

./install_geographiclib_datasets.sh

catkin build

# source 空间
echo "source ~/catkin_ws/devel/setup.bash >> ~/.bashrc
source ~/catkin_ws/devel/setup.bash

offboard控制

在catkin_ws/src目录中,运行命令

1
catkin_create_pkg offboard_pkg roscpp std_msgs geometry_msgs mavros_msgs

定位到目录~/catkin_ws/src/offboard_pkg/src/,新建一个文件offboard_node.cpp

1
2
3
4
5
6
7
8
9
10
11
12
13
14
15
16
17
18
19
20
21
22
23
24
25
26
27
28
29
30
31
32
33
34
35
36
37
38
39
40
41
42
43
44
45
46
47
48
49
50
51
52
53
54
55
56
57
58
59
60
61
62
63
64
65
66
67
68
69
70
71
72
73
74
75
76
77
78
79
80
81
82
83
84
85
86
87
/**
* @file offb_node.cpp
* @brief Offboard control example node, written with MAVROS version 0.19.x, PX4 Pro Flight
* Stack and tested in Gazebo SITL
*/

#include <ros/ros.h>
#include <geometry_msgs/PoseStamped.h>
#include <mavros_msgs/CommandBool.h>
#include <mavros_msgs/SetMode.h>
#include <mavros_msgs/State.h>

mavros_msgs::State current_state;
void state_cb(const mavros_msgs::State::ConstPtr& msg){
current_state = *msg;
}

int main(int argc, char **argv)
{
ros::init(argc, argv, "offb_node");
ros::NodeHandle nh;

ros::Subscriber state_sub = nh.subscribe<mavros_msgs::State>
("mavros/state", 10, state_cb);
ros::Publisher local_pos_pub = nh.advertise<geometry_msgs::PoseStamped>
("mavros/setpoint_position/local", 10);
ros::ServiceClient arming_client = nh.serviceClient<mavros_msgs::CommandBool>
("mavros/cmd/arming");
ros::ServiceClient set_mode_client = nh.serviceClient<mavros_msgs::SetMode>
("mavros/set_mode");

//the setpoint publishing rate MUST be faster than 2Hz
ros::Rate rate(20.0);

// wait for FCU connection
while(ros::ok() && !current_state.connected){
ros::spinOnce();
rate.sleep();
}

geometry_msgs::PoseStamped pose;
pose.pose.position.x = 0;
pose.pose.position.y = 0;
pose.pose.position.z = 2;

//send a few setpoints before starting
for(int i = 100; ros::ok() && i > 0; --i){
local_pos_pub.publish(pose);
ros::spinOnce();
rate.sleep();
}

mavros_msgs::SetMode offb_set_mode;
offb_set_mode.request.custom_mode = "OFFBOARD";

mavros_msgs::CommandBool arm_cmd;
arm_cmd.request.value = true;

ros::Time last_request = ros::Time::now();

while(ros::ok()){
if( current_state.mode != "OFFBOARD" &&
(ros::Time::now() - last_request > ros::Duration(5.0))){
if( set_mode_client.call(offb_set_mode) &&
offb_set_mode.response.mode_sent){
ROS_INFO("Offboard enabled");
}
last_request = ros::Time::now();
} else {
if( !current_state.armed &&
(ros::Time::now() - last_request > ros::Duration(5.0))){
if( arming_client.call(arm_cmd) &&
arm_cmd.response.success){
ROS_INFO("Vehicle armed");
}
last_request = ros::Time::now();
}
}

local_pos_pub.publish(pose);

ros::spinOnce();
rate.sleep();
}

return 0;
}

然后打开目录~/catkin_ws/src/offboard_pkg/下的CMakeLists.txt添加下面的两行:

1
2
add_executable(offboard_node src/offboard_node.cpp)
target_link_libraries(offboard_node ${catkin_LIBRARIES})

然后到目录~/catkin_ws下,运行命令

1
catkin build

等待编译完成后,在Firmware目录下运行命令

1
make px4_sitl gazebo_iris

打开QGroundControl

然后在终端下运行命令:

1
roslaunch mavros px4.launch fcu_url:="udp://:14540@127.0.0.1:14557"

启动PX4Mavros之间的连接,然后运行命令

1
rosrun offboard_pkg offboard_node

然后进入gazebo中进行观察。

Gazebo运行过程

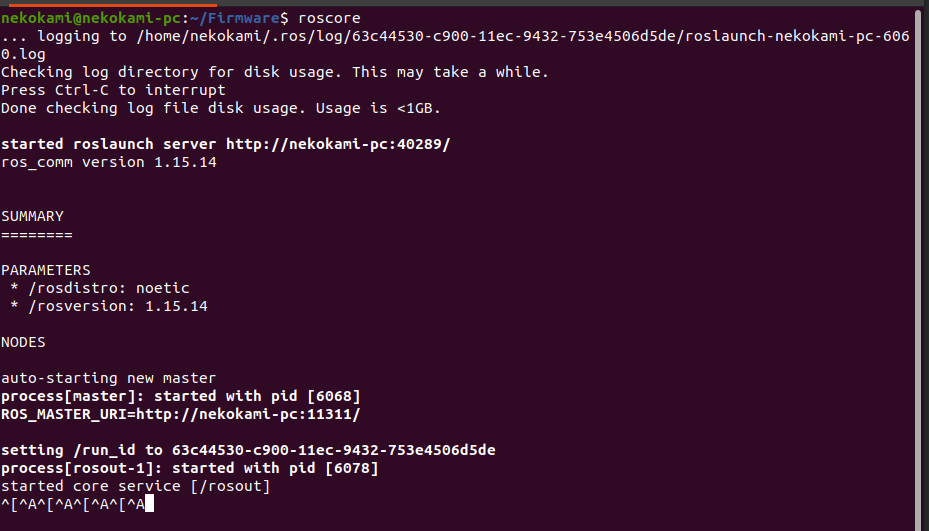
运行roscore

image-20220501114042895

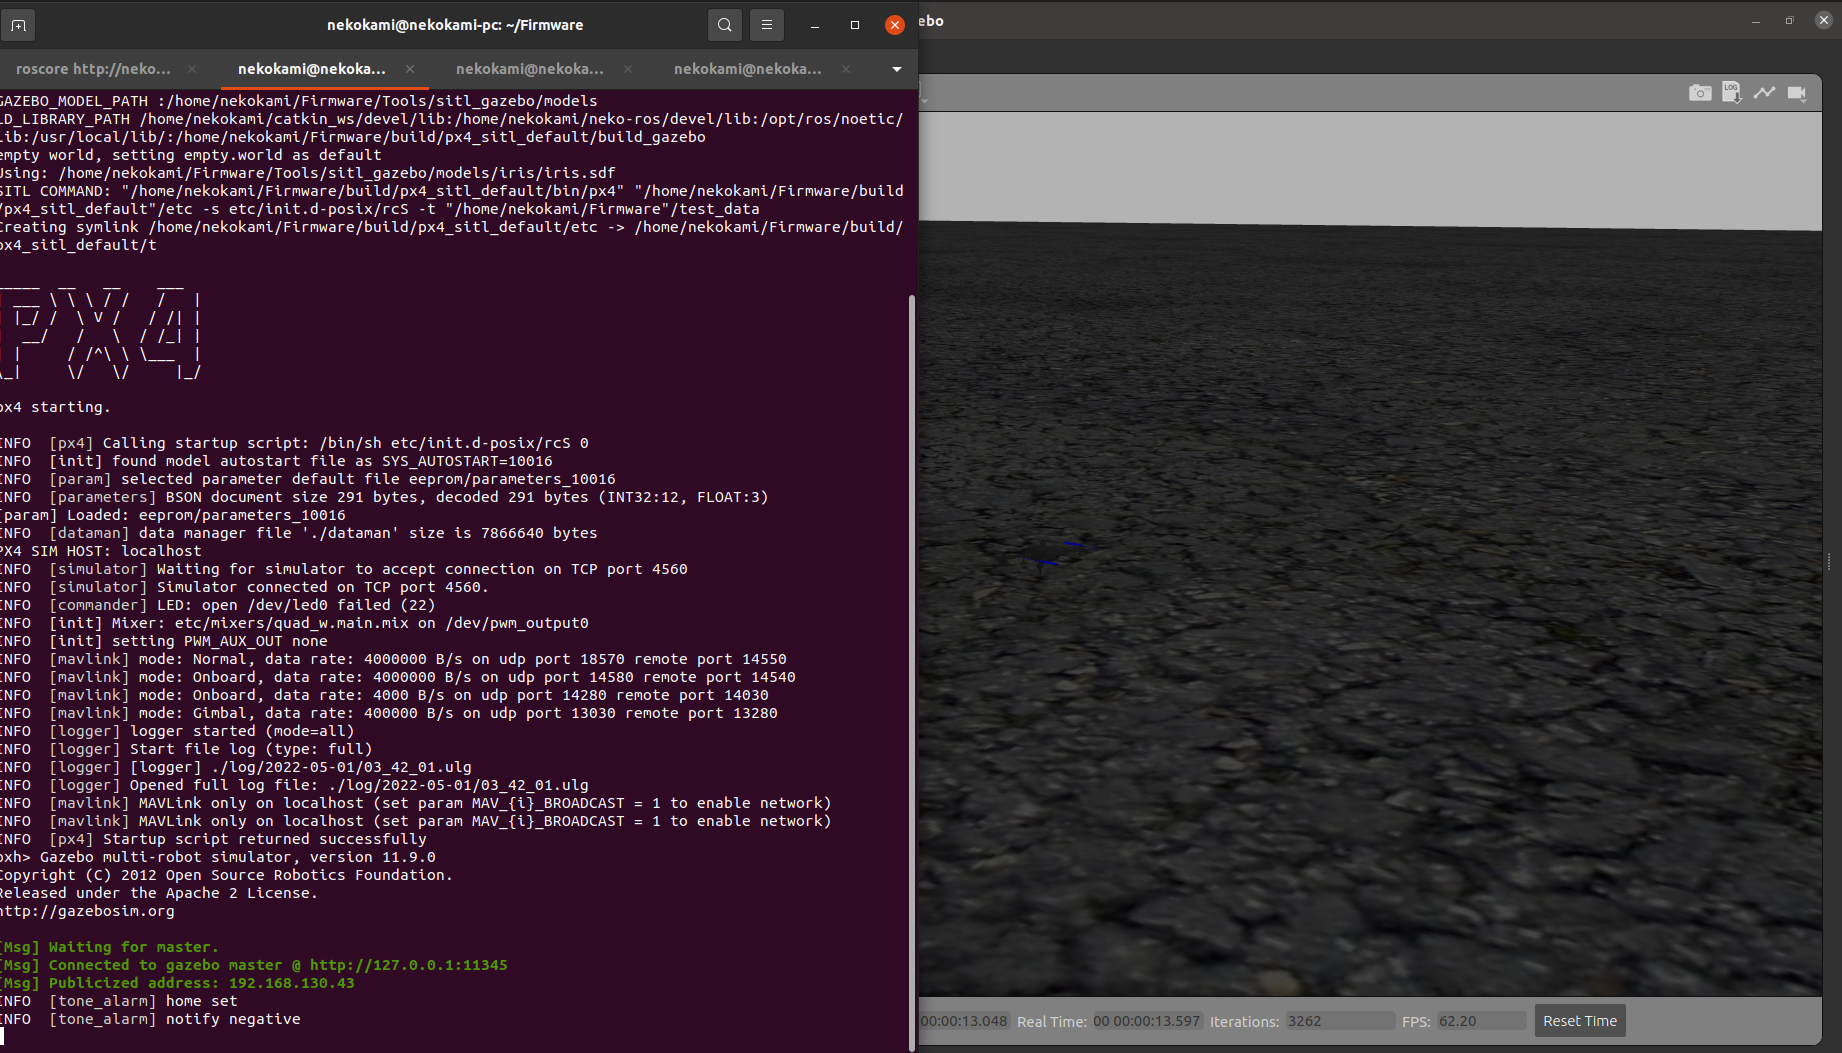
运行模拟器

在Fireware下执行

1
make px4_sitl gazebo

image-20220501114214019

运行mavros

1
roslaunch mavros px4.launch fcu_url:="udp://:14540@127.0.0.1:14557"

image-20220501114403554

这里注意在启动模拟器后需要修改如下两个参数以确保能够正常起飞

1
2
param set NAV_RCL_ACT 0
param set NAV_DLL_ACT 0

通过rosservice 控制设备起飞

1
2
3
4
5
6
7
起飞时建议先将模式设置为AUTO.TAKEOFF

rosrun mavros mavsys mode -c AUTO.TAKEOFF
rosrun mavros mavsys mode -c OFFBOARD

rosservice call /mavros/cmd/takeoff 0 0 0 0 10 // 设置起飞高度参数
rosservice call /mavros/cmd/arming true // 解锁飞机

在PX4模拟器中控制飞机解锁起飞

1
2
commander arm
commander taskoff

姿态控制

1
2
3
4
5
6
7
8
9
10
11
12
13
14
15
/mavros/set_mode   	指定飞行模式  服务
/mavros/cmd/arming 无人机解锁/锁定 服务
/mavros/cmd/takeoff 无人机起飞指令 服务
/mavros/setpoint_velocity/cmd_vel_unstamped 姿态指定,一般别用 Publisher
/mavros/setpoint_position/local 位置指定 Publisher
/mavros/state 获取当前飞机状态


ros::Subscriber state_sub = n.subscribe("/mavros/state", 10, state_callback);
ros::ServiceClient plane_mode = n.serviceClient<mavros_msgs::SetMode>("/mavros/set_mode");
ros::ServiceClient plane_lock = n.serviceClient<mavros_msgs::SetMode>("/mavros/cmd/arming");
ros::ServiceClient plane_takeoff = n.serviceClient<mavros_msgs::SetMode>("/mavros/cmd/takeoff");
ros::Publisher plane_vel_pub = n.advertise<geometry_msgs::Twist>("mavros/setpoint_velocity/cmd_vel_unstamped", 10);
ros::Publisher plane_pos_pub = n.advertise<geometry_msgs::PoseStamped>("mavros/setpoint_position/local", 10);

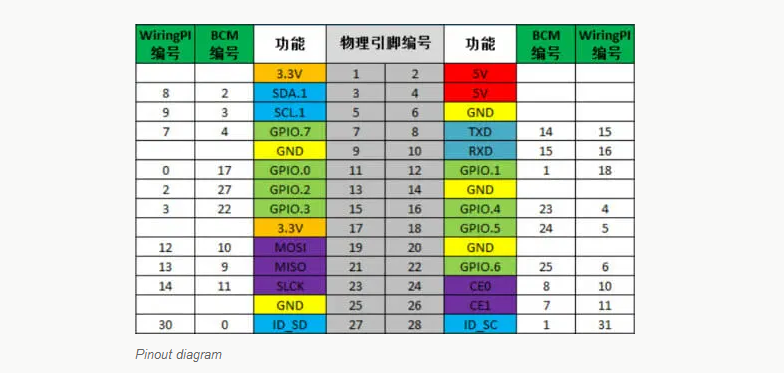
树莓派3B MINI配置

image-20220512144456523

config.txt 开启A/V输出

1
2
3
4
5
6
7
8
9
10
11
12
13
14
15
16
17
18
19
20
21
22
23
24
25
26
27
28
29
30
31
32
33
34
35
36
37
38
39
40
41
42
43
44
45
46
47
48
49
50
51
52
53
54
55
56
57
58
59
60
61
62
63
64
65
66
67
68
69
70
71
72
73
74
75
76
77
78
79
80
81
82
83
84
85
86
87
88
89
90
91
92
93
94
95
96
97
98
99
100
101
102
103
104
105
106
107
108
109
110
111
112
113
114
115
116
117
118
119
120
121
122
123
124
125
126
127
128
129
130
131
132
133
134
135
136
137
138
139
140
141
142
143
144
145
146
147
148
149
150
151
152
153
# General note: You can find more info on the options in this file here:
# https://www.raspberrypi.org/documentation/configuration/config-txt.md

# uncomment if you get no picture on HDMI for a default "safe" mode
#hdmi_safe=1

# uncomment this if your display has a black border of unused pixels visible
# and your display can output without overscan
disable_overscan=1

# uncomment if hdmi display is not detected and composite is being output
# also set this in conjunction with a specific HDMI mode below if you want
# to connect your display when the Raspberry is already running, i.e. the
# display has not been connected during power-up
#
#hdmi_force_hotplug=1

# uncomment to force a specific HDMI mode
#
# 640x480
#hdmi_group=1
#hdmi_mode=1
#
# 800x600 Fatshark HD1/2/3 (4:3)
#hdmi_group=2
#hdmi_mode=9
#
# 1024x768
#hdmi_group=2
#hdmi_mode=16
#
# 1280x720 Fatshark Base HD
#hdmi_group=1
#hdmi_mode=4
#
# 1280x800 Headplay HD
#hdmi_group=2
#hdmi_mode=28
#
# 1280x1024
#hdmi_group=2
#hdmi_mode=35
#
# 1440x900
#hdmi_group=2
#hdmi_mode=47
#
# 1680x1050
#hdmi_group=2
#hdmi_mode=58
#
# 1920x1080 Goggles One/Two
#hdmi_group=1
#hdmi_mode=16

# Topfoison 6" 1080x1920 display
#hdmi_ignore_edid=0xa5000080
#max_framebuffer_width=1080
#max_framebuffer_height=1920
#display_rotate=3
#hdmi_timings=1080 0 118 4 118 1920 0 4 4 3 0 0 0 60 0 152940000 3
#hdmi_group=2
#hdmi_mode=87

# OSVR HDK 1.4
#[EDID=SVR-OSVR_HDK]
#hdmi_ignore_edid=0xa5000080
#hdmi_group=2
#hdmi_mode=87
#hdmi_timings=1080 0 32 5 11 1920 0 12 5 6 0 0 0 60 0 131000000 3
#display_rotate=3
#max_framebuffer_width=1080
#max_framebuffer_height=1920
max_framebuffers=2

# uncomment to increase signal to HDMI, if you have interference,
# blanking, or no display
#config_hdmi_boost=4

# uncomment for composite PAL
#sdtv_mode=2

# Enable audio (loads snd_bcm2835)
dtparam=audio=on

gpu_mem=160

# force gpu to run in turbo mode for less latency and jitter
force_turbo=1

# prevent throttling on undervoltage, but still allow throttling on overtemp
avoid_warnings=2

# Set higher voltage for stability
over_voltage=3

# overclock CORE/GPU/SDRAM for less latency and higher data troughput
gpu_freq=400
sdram_freq=433

# speed-up booting
bootcode_delay=0
boot_delay=0
disable_splash=1

# allow for maximum 1.2A current on USB bus
max_usb_current=1

# disable Bluetooth on Pi3 so that the GPIO serial port is usable
dtoverlay=pi3-disable-bt

# needed for serial port, otherwise /dev/AMA0 does not exist
enable_uart=1

# reduce maximum USB hub depth to 2
usb_mdio=0x7000

# test, don't change
#hvs_priority=0x32ff
#
# uncomment for I2C
#dtparam=i2c1=on
dtparam=i2c_arm=on
#uncomment below if using veye innomaker imx219 cam or HAT
#dtparam=i2c_vc=on
#
# uncomment for SPI
#dtparam=spi=on

start_x=1

[pi0]
start_file=zero_x.elf
fixup_file=zeroup_x.dat
[pi0w]
start_file=zero_x.elf
fixup_file=zeroup_x.dat

[pi1]
start_file=1to3b_x.elf
fixup_file=1to3bup_x.dat
[pi2]
start_file=1to3b_x.elf
fixup_file=1to3bup_x.dat
[pi3]
start_file=1to3b_x.elf
fixup_file=1to3bup_x.dat
[pi3+]
start_file=start_x.elf
fixup_file=fixup_x.dat

[all]
dtoverlay=vc4-fkms-v3d

https://elinux.org/RPiconfig

KeyServer 安装 源KEY的另一种方法

1
curl -sL https://keyserver.ubuntu.com/pks/lookup\?op\=get\&search\=0xada83edc62d7edf8  | sudo apt-key add -
作者

nekokami0527

发布于

2022-04-28

更新于

2022-10-28

许可协议

评论